How to Install a Robot Lawn Mower Step by Step
A practical, buyer-friendly walkthrough for Canadian yards. Clear steps, minimal tools, and pro tips for boundary wire and wire-free setups.
See our picks: Best Robotic Lawn Mowers in Canada (2026)
Curated options for small, medium and large lawns with wire and wire-free navigation.
Open guide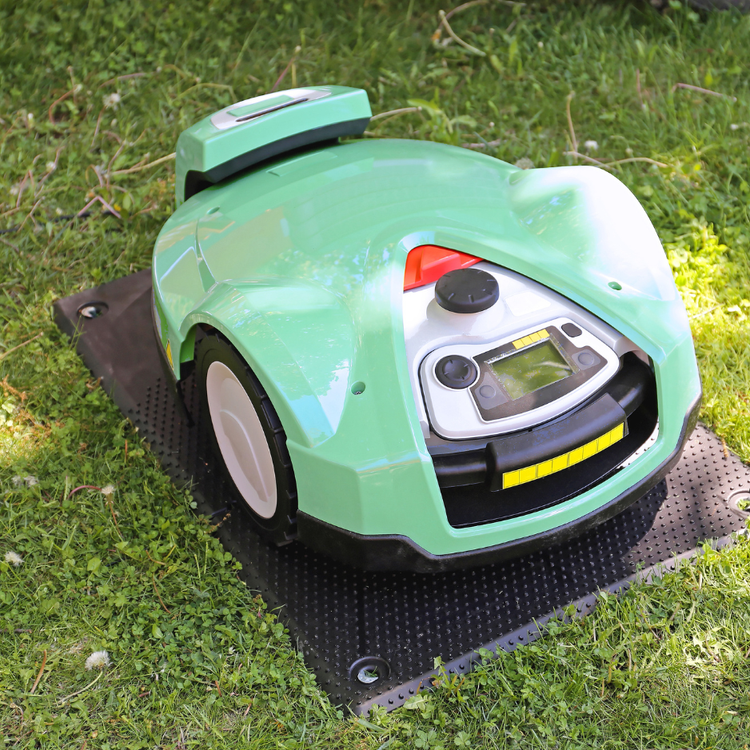
Introduction
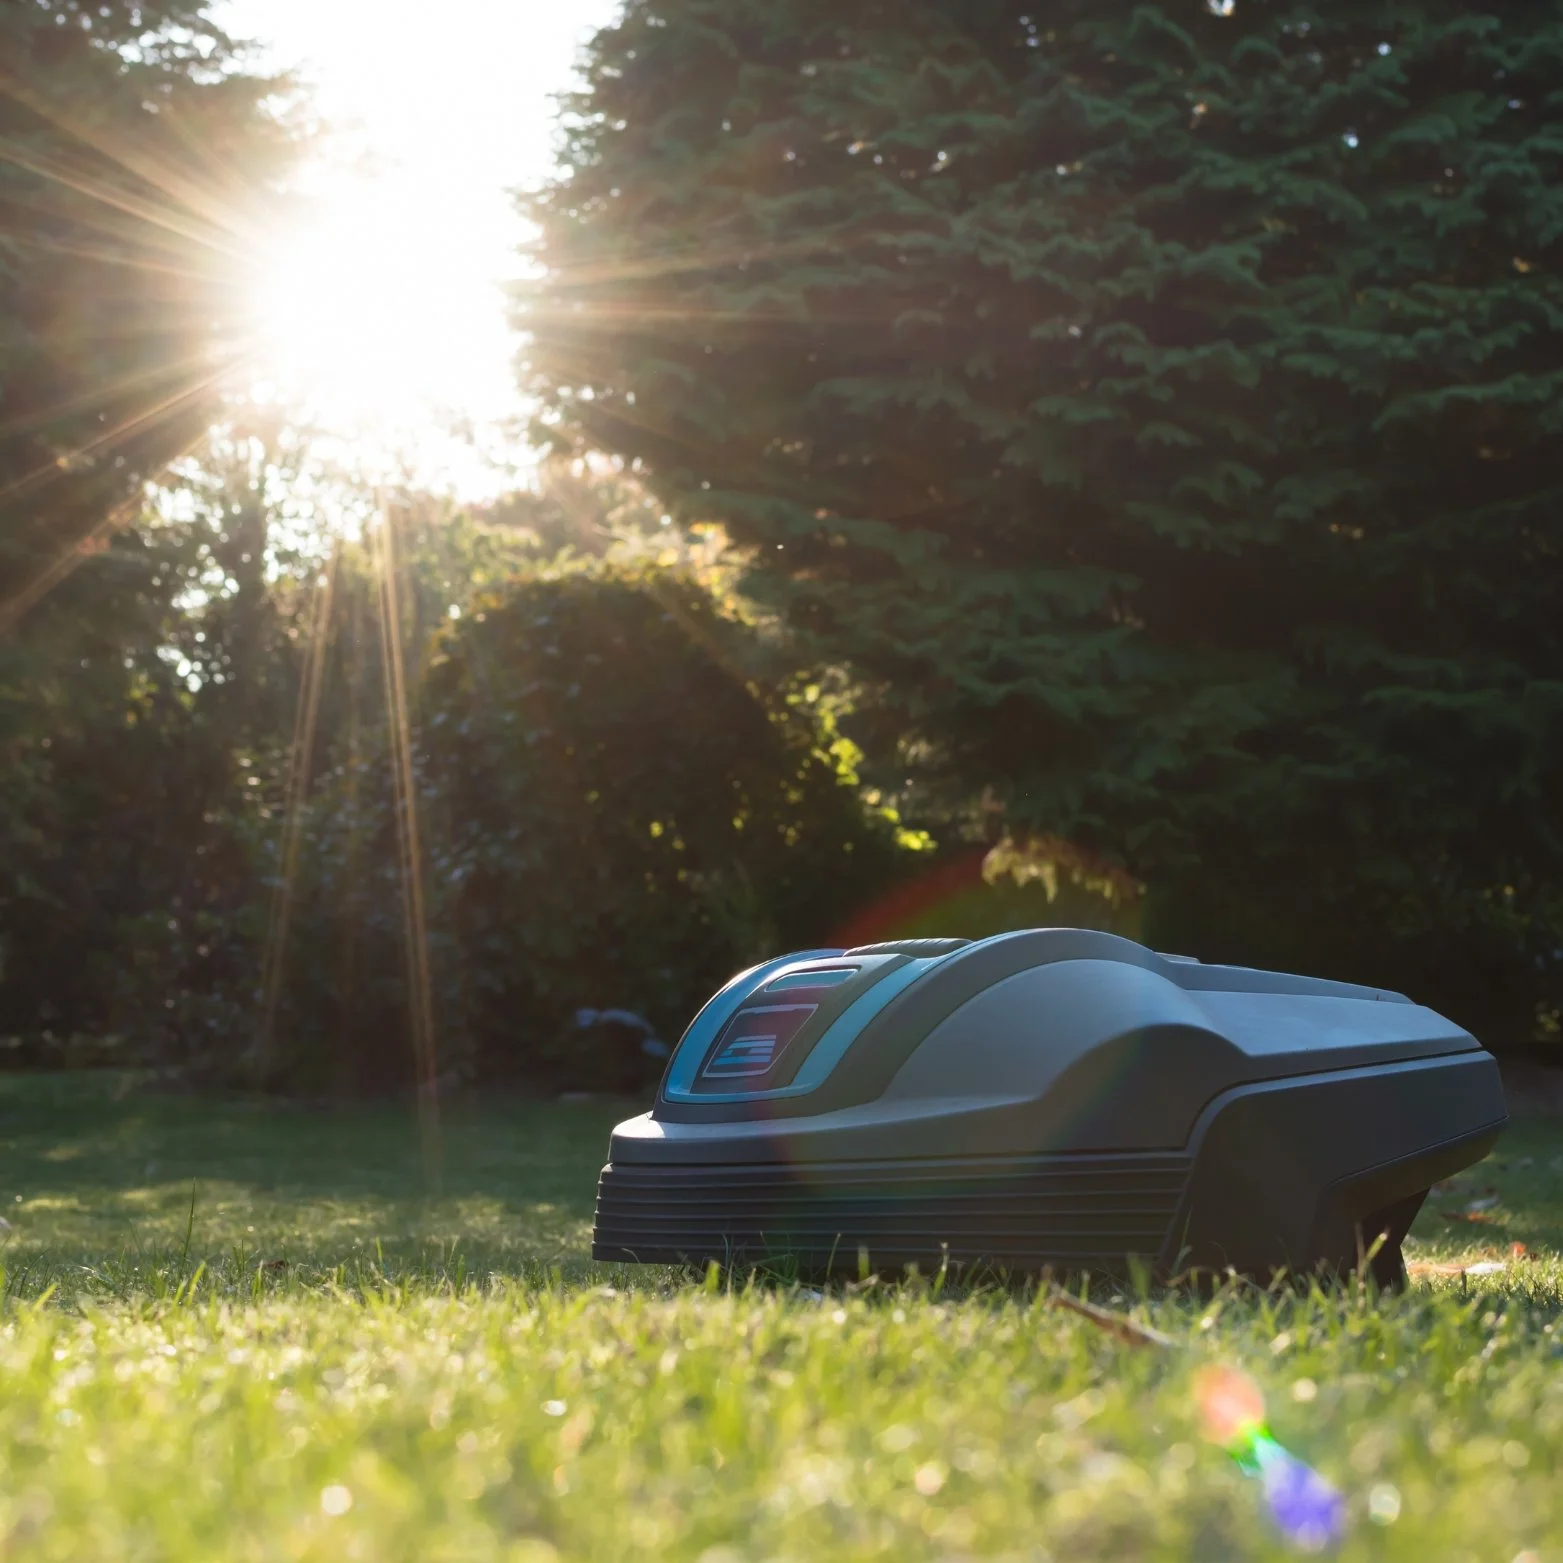
A lush, well-kept lawn is a source of pride for many Canadian homeowners, but maintaining it often means hours behind a noisy gas mower. It is no surprise that more and more people are turning to robot lawn mowers to handle the work. These smart machines save time, reduce effort, and provide a consistently neat finish. Yet the first question many new buyers ask is the most practical one: how exactly do you install a robot lawn mower?
The good news is that the process is straightforward. You do not need to be a professional landscaper or an electrician. With a bit of preparation and a few simple steps, you can have your mower working on the very first day. This guide is written for Canadians who are considering or have just purchased their first robotic mower. It explains everything in plain language, from assessing your yard to setting up the boundary wires, programming the robot, and adapting it to Canadian weather conditions.
Step 1: Assess Your Lawn
Every successful installation begins with a good understanding of your lawn. Size is the first factor. Most robotic mowers are designed for areas between 200 and 5,000 square metres, though premium models can handle much larger properties. Slope is another consideration. Many robots manage gradients up to 20 to 45 per cent, and higher-end machines can climb even steeper inclines. You should also look at obstacles such as trees, roots, flowerbeds, or gravel paths. Finally, keep in mind the local climate. Canadian summers are ideal for robotic mowing, but in autumn you may need to clear fallen leaves, and in winter the machine must be stored indoors.
Step 2: Unboxing and What to Expect
When you unbox your mower you will find the main unit, a charging station, a power supply, the boundary wire, pegs to secure the wire, and a user manual. Check that all parts are included and that the length of wire provided is suitable for your property. Most packages include between 100 and 300 metres of wire, and if you have a larger yard you may need to purchase an extra roll.
Step 3: Positioning the Charging Station
The charging station is the home base for your mower. It should be placed on a level surface, connected to an outdoor electrical outlet that is weatherproof, and have at least two metres of clear space in front and behind. Avoid placing it in direct, intense sunlight or in an area that gathers standing water. In regions with heavy rain, such as parts of British Columbia, many homeowners add a small protective cover.
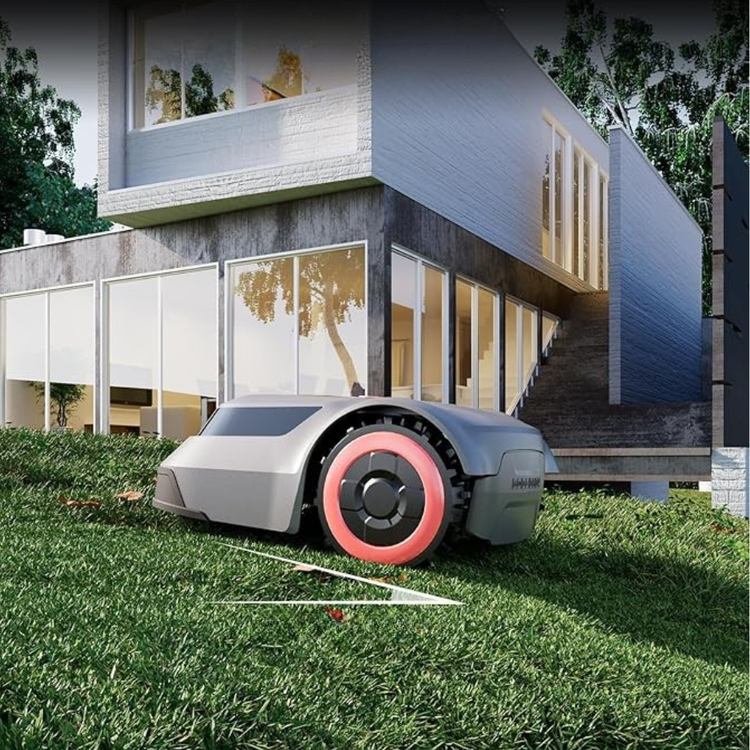
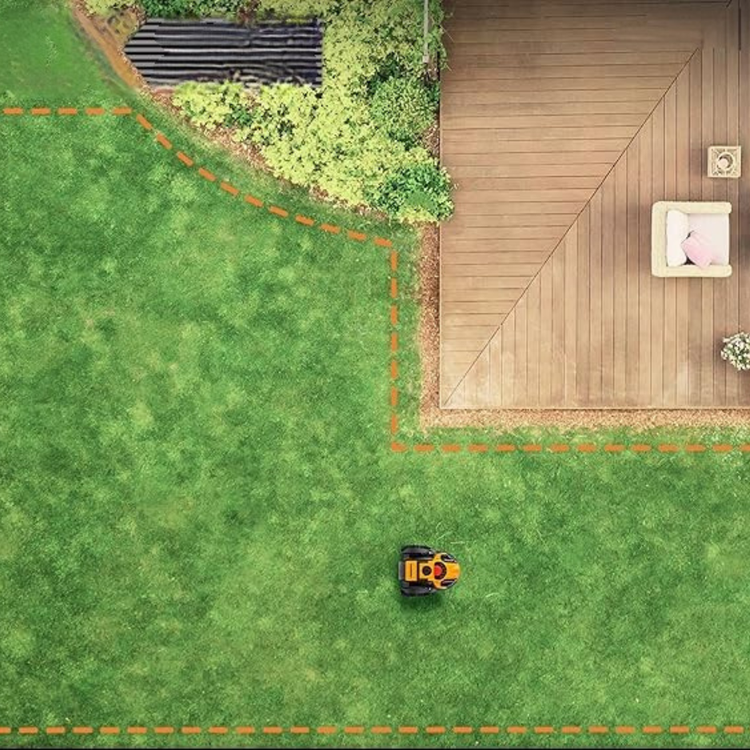
Step 4: Laying the Boundary Wire
The boundary wire is the invisible fence that tells the mower where to work. Begin by unrolling the wire around the entire perimeter of your lawn, keeping it 20 to 30 centimetres away from walls or fences. Use the pegs provided to secure it flat to the soil. As grass grows, the wire will become invisible within a few weeks. If you have areas where you do not want the mower to enter, such as flowerbeds or ponds, simply loop the wire around them to create an exclusion zone. Finally, bring both ends of the wire back to the charging station.
Step 5: Connection and Initial Test
Once the wire is in place, connect both ends to the charging station and switch on the power. Place the mower on its base to fully charge. When ready, start a short test run. The mower should detect the boundary and follow the perimeter correctly. Walk along with it to confirm there are no gaps or mistakes. If you notice the mower straying too close to the edge, adjust the wire slightly.
Step 6: Configuring the Mower
Modern robotic mowers are remarkably user-friendly. Configuration is typically done through the onboard control panel or a mobile app connected by Bluetooth or Wi-Fi. Adjust the cutting height to match your lawn, set a schedule that fits your lifestyle, and define mowing zones if your model has GPS or smart mapping. Many Canadian owners find it convenient to program mowing sessions early in the morning or in the evening to avoid the midday heat.
Step 7: First Days in Operation
It is important to have the right expectations. Unlike a traditional mower that cuts everything at once, robotic mowers trim a small amount regularly to maintain a constant height. This means the lawn may not look perfect after the very first day, but within a week or two you will notice a consistently even appearance. During the first runs, keep an eye on corners, narrow passages, and slopes. If the mower struggles, you can adjust the boundary wire or refine the settings.
Step 8: Adapting to Canadian Weather
Canada’s seasons present some unique challenges. Summer is generally ideal for robotic mowing, although you should avoid operating during severe thunderstorms. In autumn, it is wise to rake or blow away larger leaves so they do not interfere with the blades. Winter requires full storage. Clean the mower, disconnect the battery if recommended by the manufacturer, and store the unit in a dry, frost-free location such as a garage or basement. In spring, check that the boundary wire is intact, sharpen or replace the blades, and give the battery a full charge before starting the new season.
Step 9: Ongoing Maintenance
One of the main advantages of robotic mowers is their low maintenance. Replace or sharpen the blades every two or three months, depending on usage. Wipe the exterior with a damp cloth to remove dirt or grass build-up. Inspect the boundary wire each season to ensure it remains secure. Battery replacement is typically required every three to five years. With this minimal care, most machines last between seven and ten years.
Step 10: Comparing Popular Models in Canada
Not all robotic mowers require the same type of installation. For example, Husqvarna Automower is one of the most popular brands and relies on boundary wires, but it excels on sloped lawns and complex yards. Segway Navimow is wire-free, using GPS to create virtual boundaries, which is perfect if you do not want to spend time laying cables. Mammotion Luba also eliminates the need for wires and is particularly strong for large properties. On the more affordable side, the Worx Landroid is an excellent choice for small and medium yards, though it still requires perimeter wire installation. Choosing between wire and wire-free systems often comes down to budget and the complexity of your property.
Conclusion
Installing a robot lawn mower in Canada is easier than it looks. Once the charging station and boundary wire are in place, most of the work is done. The mower then quietly handles the grass, saving you time, effort, and even money compared to hiring a lawn care service. The initial effort pays off quickly, and the reward is a perfectly maintained lawn without lifting a finger.
If you are still deciding which model is right for your home, make sure to read our full guide to the best robot lawn mowers in Canada. There you will find detailed reviews, comparisons, and recommendations tailored to Canadian yards and weather.
FAQ
How long does installation take? Most homeowners can complete the installation in two to four hours depending on the size of the yard.
Can I install a mower without boundary wire? Yes, but only with models that use GPS or RTK systems, such as the Segway Navimow or Mammotion Luba.
What if it rains during installation? Moist soil is not a problem for laying the wire, but avoid running the mower during heavy rain or storms.
How much does professional installation cost in Canada? Professional services typically range from 300 to 600 CAD, depending on yard size and complexity.
Affiliate disclosure and editorial note. Last updated: Sept 2025.